| Share |  |
 | |||
Constructing an Upholstered Headboard
Ready for a new project this new year? Consider this one.
Company is on the way and the guest bed is less than inviting. Time is of the essence and the budget is tight. If you have two hours, approximately seventy dollars, and minimal upholstery skills, you can have a completed upholstered headboard ready for guests.
To begin you will need the following materials for a queen size bed: Staple gun, hammer, drill with a Phillips-head screw bit, two fifty-pound picture hangers, one sheet of 1/4 inch plywood cut to 36 inch by 62 inch. (Lowe's Home improvement will make these cuts at no additional charge.) One 36 inch by 62 inch piece of foam in one-inch thickness (Purchased at a fabric store and can be cut to size at no additional charge.) One piece of batting in one-inch thickness cut to 42 inches by 68 inches. Two yards of fabric. Extra set of hands.
Step 1: Position batting on floor
Step 2: Center foam onto batting
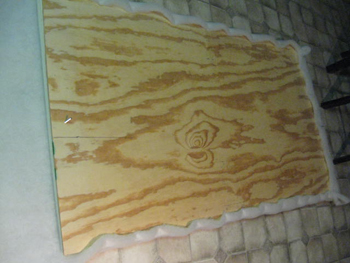
Step 3: Place board onto foam

Step 4: Starting in the center of one side, pull batting taut over foam and board, staple. Repeat on opposite side until all four sides are stapled in the center.
Step5: Continue stapling out from center leaving approximately six inches unstapled on either side of corners.
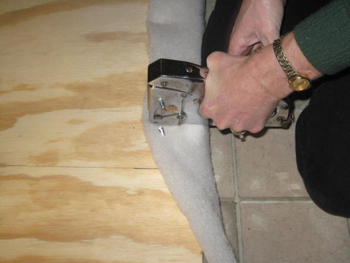
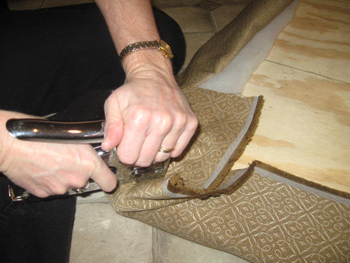
Step6: Finish corners by pulling batting over point first, staple. Then continue by pleating and folding until all batting is stapled. Hammer all staples to ensure security.
Step7: Position fabric right side down on floor.
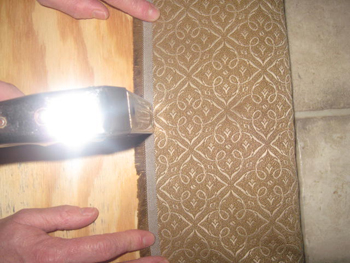
Step 8: Center board onto fabric and repeat steps four, five and six.
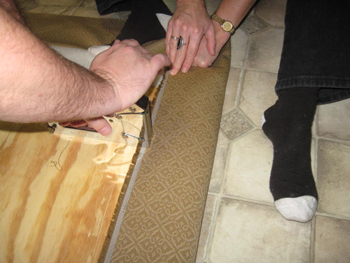


Note: When attaching fabric, have one person pull material very taut while another staples. This process will require checking front side for alignment of pattern and dips in foam. Dips in foam means the fabric has been pulled too tight. Expect to have to make adjustments in this process. For the most professional look, all sides should be even and smooth with fabric pattern aligned correctly.
Step 9: Drive screws into studs of wall, attach hangers proportionately on back of headboard, hang and enjoy!
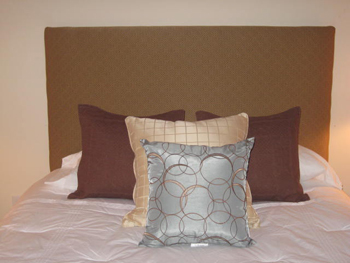
Additional Options: To further enhance your headboard, it may be tufted or embellished with nailhead trim.
Now you are ready for company all year long . . . or maybe you’ll enjoy a face-lift for your own bedroom!
Copyright © 2008-2015 Kristy Beelendorf
Reader Comments...
| 2010-01-13 05:30:19 "Love this very practical and inexpensive idea. Thanks for clear instructions. I might try it." - Heather |
Post Your Comment...
|
|
||||||||||||